
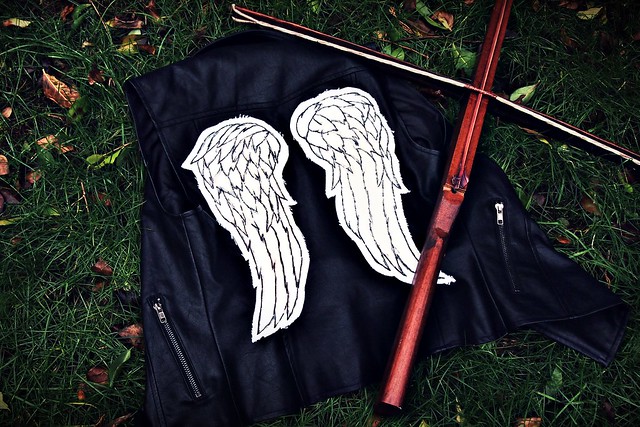
Daryl Dixon is one of my fave characters from The Walking Dead and ever since saw his angel winged vest back in season 2 I have wanted to make my own. It took me a long time to get round to making this vest because of my seemingly endless search for the perfect vest but I finally found one (from Forever 21) and now "Project Dixon Wings" is complete I'm going to show you how I made mine and how you can make one to.

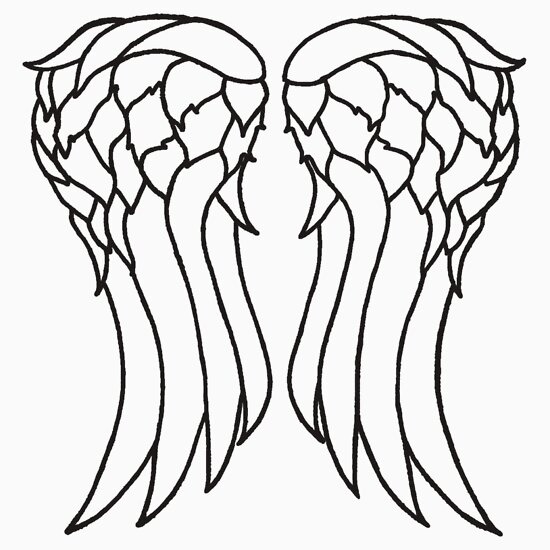
I used this bad ass photo of Norman Reedus by Terry Richardson as a base to trace out the wings, then scanned the sketch, cleaned it up and resized it so I had a template to work with, you can use my sketch alternatively there are some other wing designs or if you're feeling extra artsy you can sketch out your own.

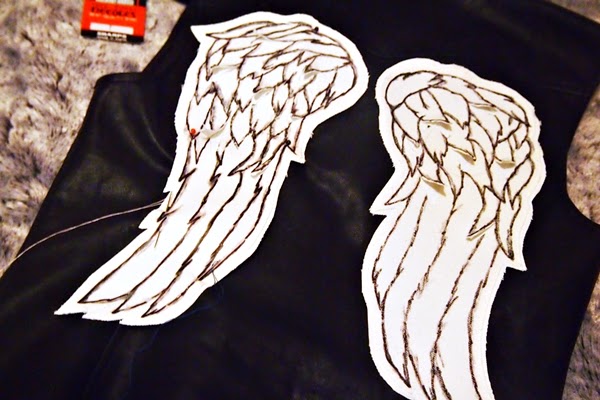
Once I was happy with the design I did a few test prints to make sure I got the sizing right for my vest then you can either use the stencil method to paint on your wings which I used to make my Direwolf Jacket or you can draw them on or use transfer paper to iron the template onto the fabric which is my preferred method as I found it much easier and quicker. Pro tip if you use transfer paper remember to mirror your design otherwise your wings will be the opposite way round and remember to read the instructions as different paper brands can give different results.

I then went over the print with a fabric pen to make the outline stand out more and add detail then once I was happy with the results. I cut out the wings leaving a 1cm border (just to prevent any fraying) and ironed them to seal in the ink. I prefer using fabric pens as they're easy to use and give a great results but there are lots of other options you can use, personally I would've loved to embroider the outline of my wings but my sewing skills aren't that good yet...

At this point your wings are pretty much done but to give my wings a fun "realistic" effect I decided to cut a few of the feathers out, to do this I just used a smaller pair scissors, made a small incision and cut carefully around the outline. There are other fun things you can do to make your wings look more worn and Daryl-esque but I decided to keep my wings clean and wear them in naturally.

Another thing I did to give the wings more strength and keep them rigid was to give them an extra layer of fabric by just using fabric glue to stick them back onto the fabric. I also made sure any feathers I cut out didn't stick back onto the fabric and applied some glue around the edges of them to prevent fraying and make them extra rigid. I then allowed the glue to dry overnight and cut the wings out again leaving a small border around them just to prevent fraying.
There are a few options you can use to attach your wings onto your vest, you can use fabric glue or iron them on or sew them on. I decided to sew mine on as I thought it would be more longer lasting and durable than gluing. To begin I first pinned the wings into place, tried on the vest and checked in the mirror to see if my placement was correct, then went through this process a few more times until I was happy I had them in the right position.

I used the outline as a guide to sew on the wings, pro tip make sure you use a strong needle to go through all those layers of fabric as I managed to break mine the first time! Before I started on the second wing I checked the placement first to make sure it was still symmetrical as the fabric can move quite a bit whilst sewing then re-pinned and tried it on to make sure everything was looking good before sewing that one on to.
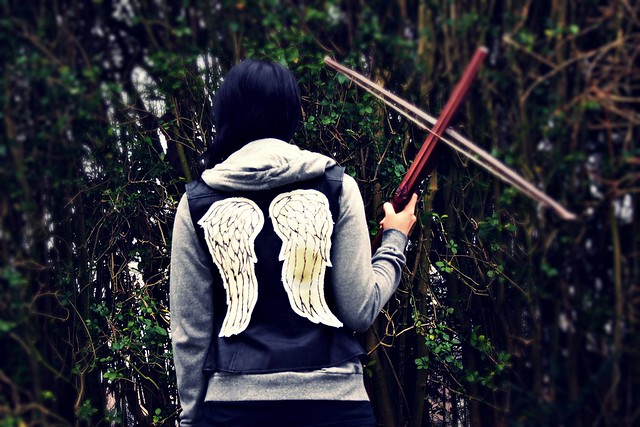
And it's done!
Who is your fave character from The Walking Dead be sure to let me know in the comments
Zombies & Crossbows
Cate
xoxo
No comments:
Post a Comment